Make your own IPOD with Photoshop

Everyone wants an iPod but did you know you can actually make one using Photoshop? You probably did. There are an almost infinite number of possibilities in Photoshop and that includes the creation of your very own image, and for this tutorial, your very own iPod.
Let’s begin. Start by creating a new document, preferably 500 X 600 pixels at 300dpi. You can have a variety of backgrounds but it is recommended you have a gradient background. For this tutorial, we will use black, going to gray at the bottom.
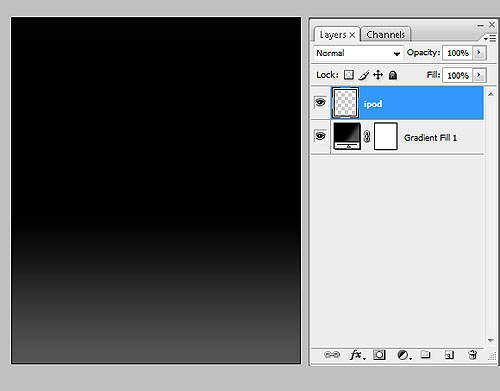
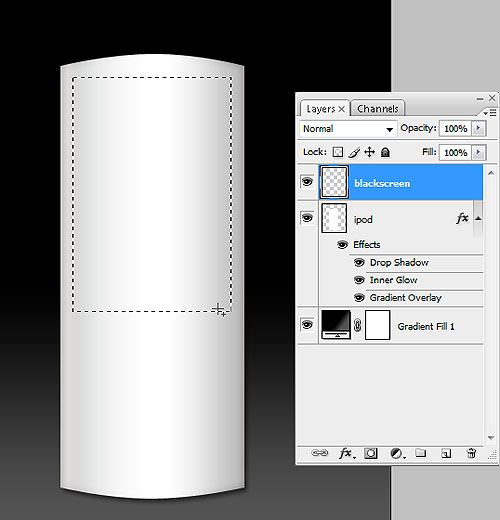
Create a new layer above the background layer and rename it ipod (or don’t name it at all, it’s up to you). Here’s a preview of what you should have so far.
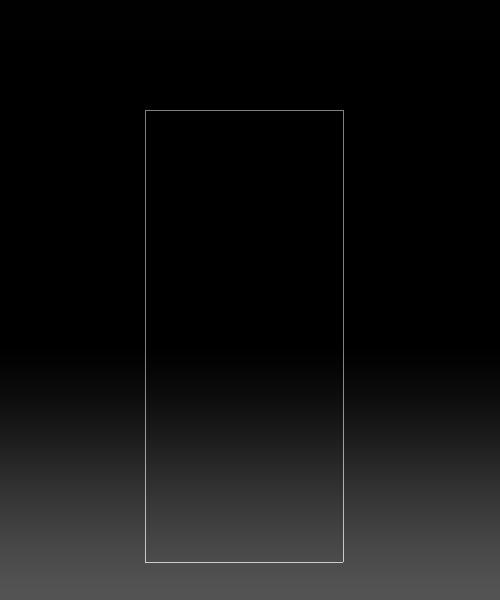
Using the RECTANGLE TOOL, create a long, ipod shape.
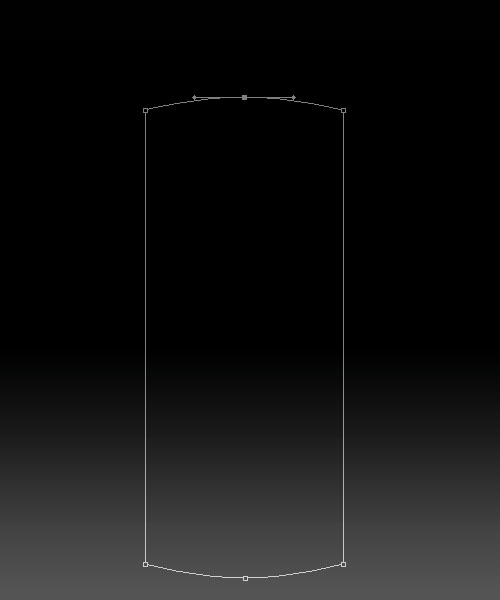
Get the PEN TOOL. Choose ADD ANCHOR POINT TOOL and ADD THE NODES on all four corners of the rectangle, as well as at the middle top and bottom. See image below for reference.
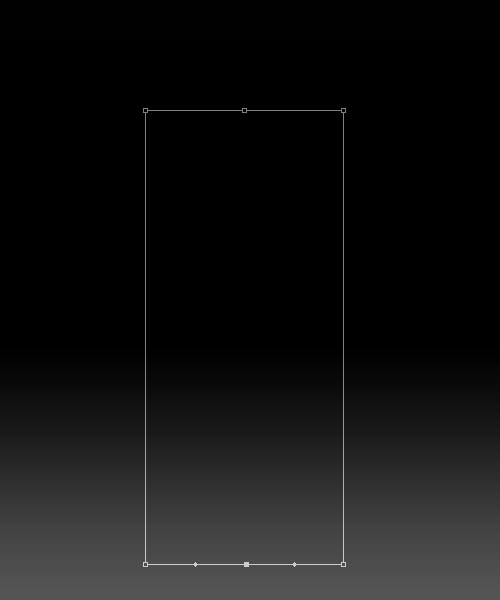
PULL THE MIDDLE NODES to create a semi-cylindrical shape. DO NOT PULL TOO FAR OUT. Do this for the top and bottom nodes as show in the image below.
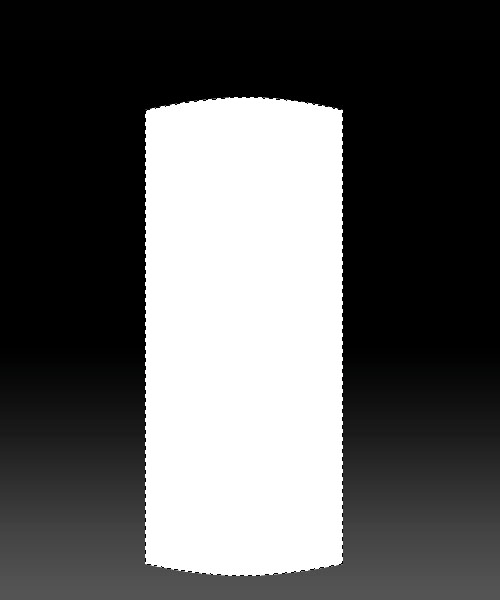
Get the PEN TOOL. RIGHT CLICK ON THE RECTANGLE and choose MAKE SELECTION. Then, FILL UP the selection with WHITE.
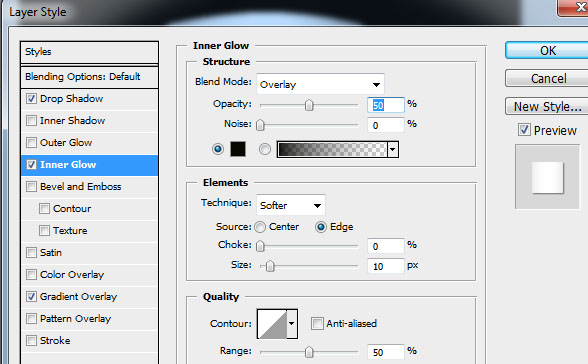
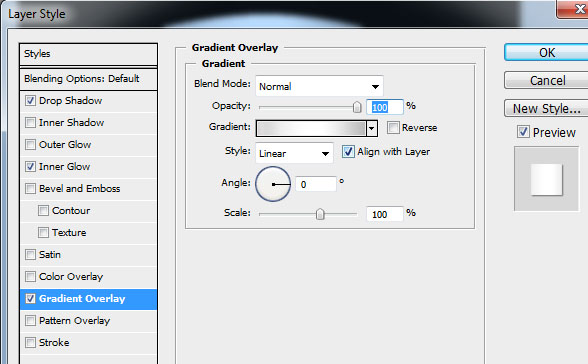
Change the BLENDING OPTIONS / LAYER STYLE of the ipod layer with the following values:
DROP SHADOW – Opacity 50 ; Distance 0; Spread 0; Size 1
INNER GLOW – Blend Mode Overlay; Color Black; Opacity 50; Size 10
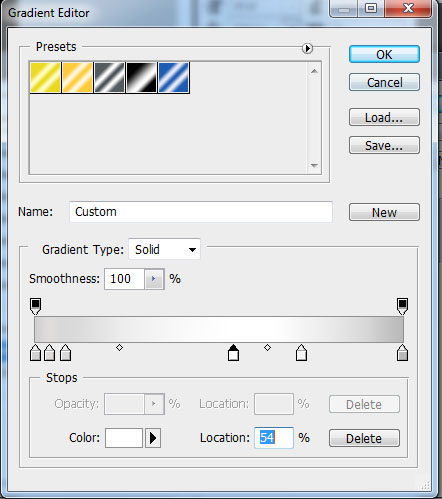
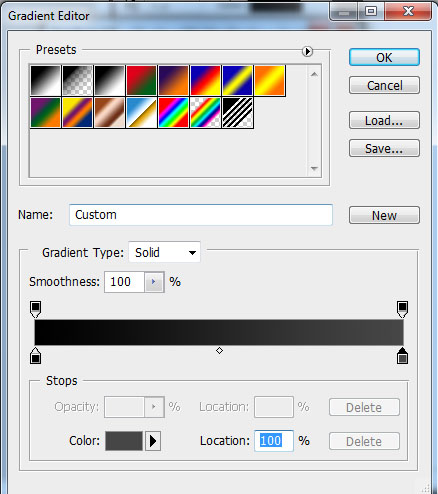
GRADIENT – Angle 0. View image below for gradient colors.

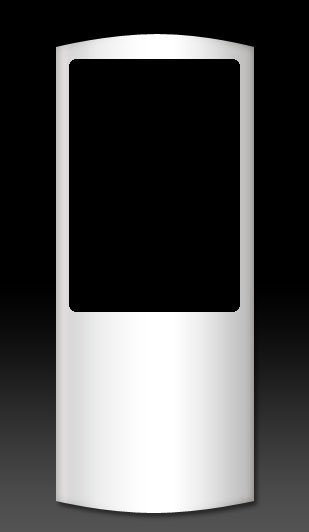
Now let’s start with the ipod screen. CREATE A NEW LAYER using the SELECTION TOOL.
Then, go to SELECT > MODIFY > SMOOTH > 5px. You should see the borders of the selection become smoother. Fill this selection with BLACK and you should achieve the result below.
Next, select about three-fourths (3/4) of the screen size.
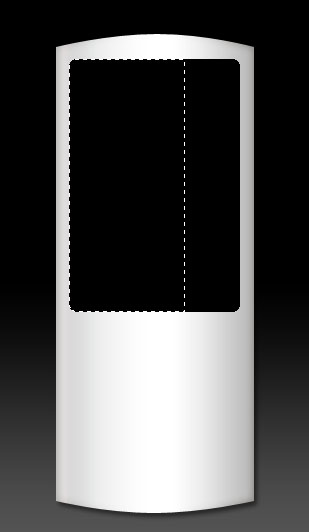
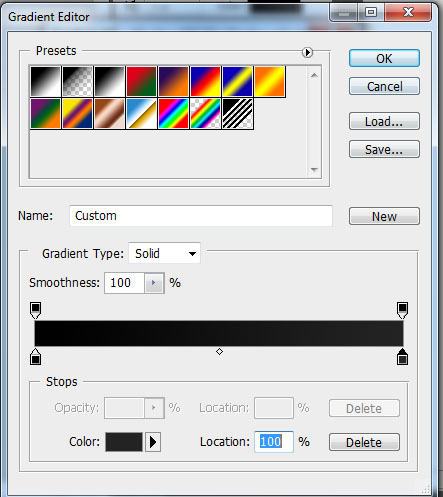
Go to LAYER > NEW FILL LAYER > GRADIENT and create a BLACK TO GRAY GRADIENT as shown below.
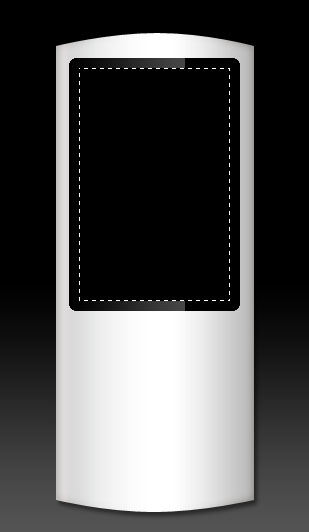
CREATE A NEW LAYER and select a smaller section of the ipod’s screen. DO NOT SMOOTHEN THE SELECTION.

Fill this new selection layer with black.
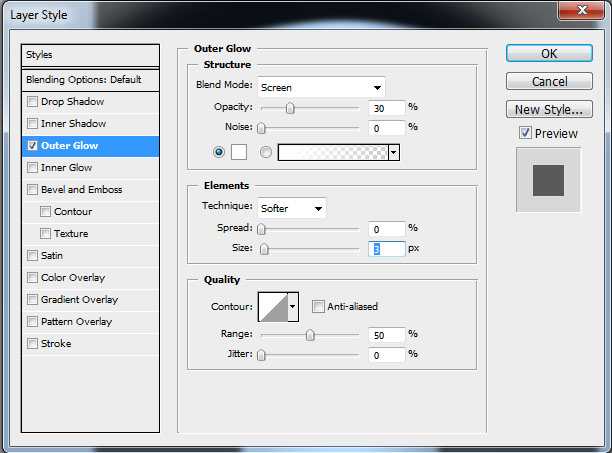
Next, ADD A BLENDING OPTION / LAYER STYLE to this new black screen layer: OUTER GLOW – Blend mode Screen; Color White; Opacity 30; Size 3.
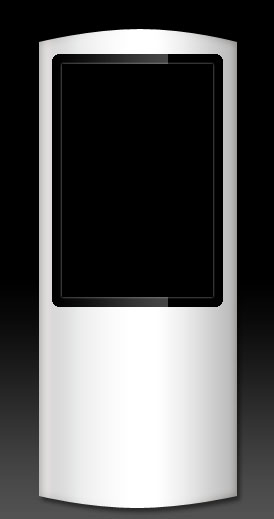
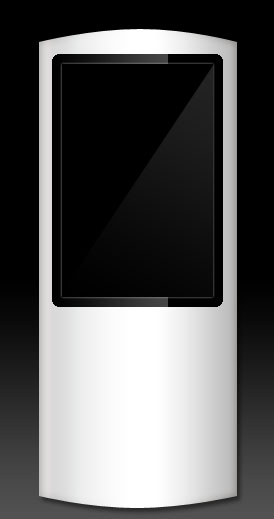
You should achieve these results.
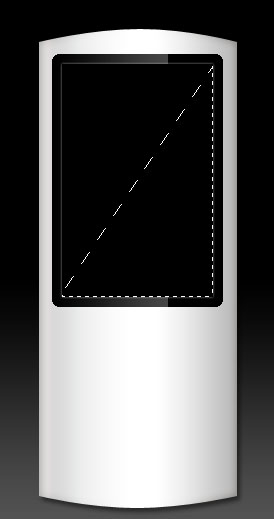
The screen seems a bit dull, isn’t it? Let’s add a bit of shiny reflection. Using the POLYGONAL LASSO TOOL, select a small, RIGHT TRIANGLE part of the small black screen. See below for reference.
Go to LAYER > NEW FILL LAYER > GRADIENT and create a BLACK TO GRAY GRADIENT. See below for reference.
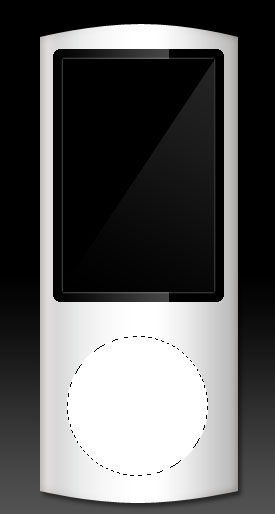
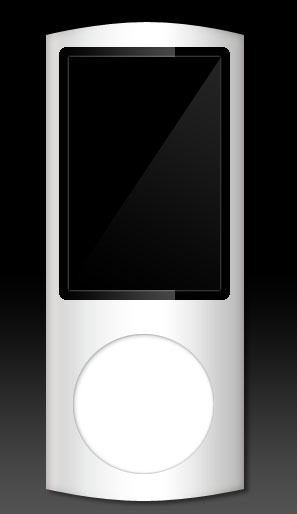
We’re halfway there. An ipod won’t function without the menu button, so let’s go make one. CREATE A NEW LAYER. For this layer, you can rename it button. Get the ELLIPTICAL MARQUEE TOOL and create a circle at the bottom of the ipod. Fill this circular selection with WHITE.
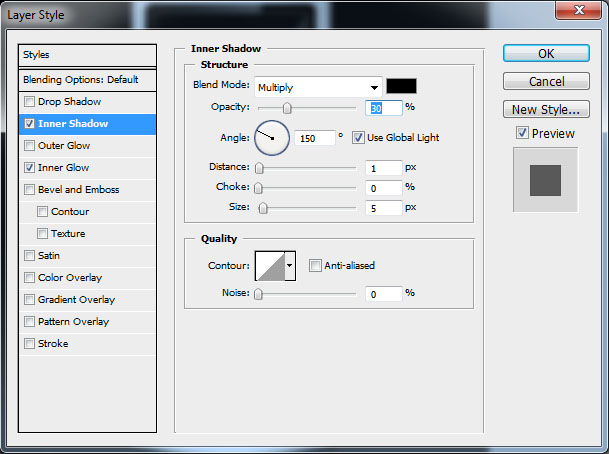
Time to add a few BLENDING OPTIONS / LAYER STYLE to the button. Here are the following options you need to add:
INNER SHADOW – Blending Mode Multiply; Opacity 30; Angle 150; Distance 1; Choke 0; Size 5.
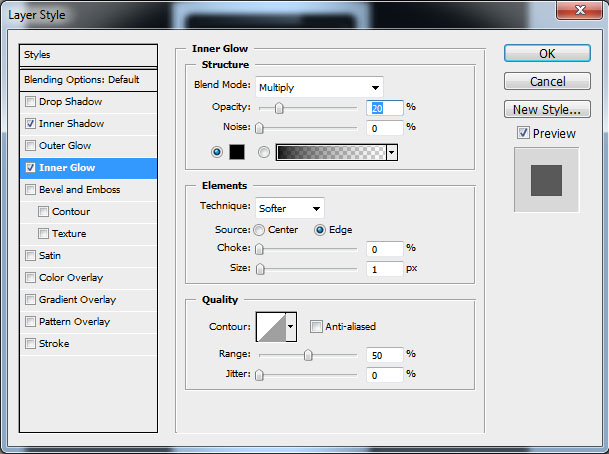
INNER GLOW – Blending Mode Multiply; Opacity 20; Size 1
Results should be something like this.
Time to place a button in the middle. CREATE A NEW LAYER and make a SMALLER CIRCULAR SELECTION in the middle. Fill this with WHITE and add BLENDING OPTIONS / LAYER STYLE:
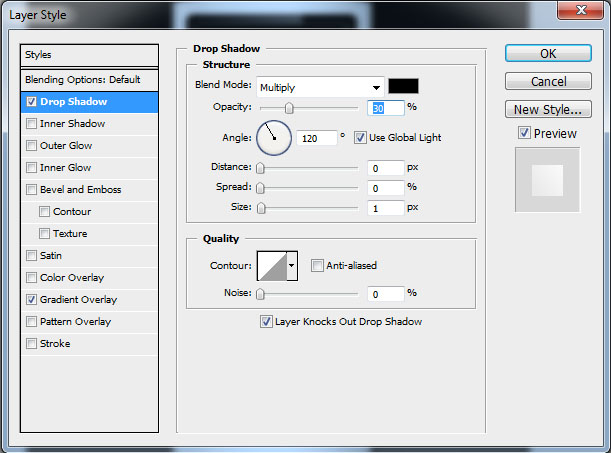
DROP SHADOW – Blending Mode Multiply; Opacity 30; Angle 120; Distance 0; Spread 0; Distance 1
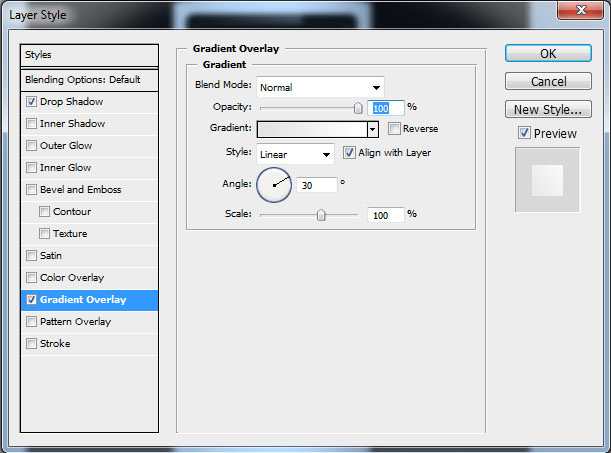
GRADIENT OVERLAY – Angle 30; create a LIGHT GRAY TO WHITE GRADIENT.
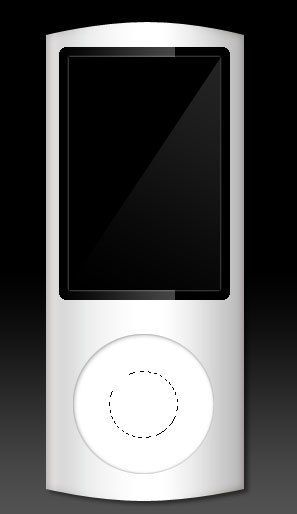
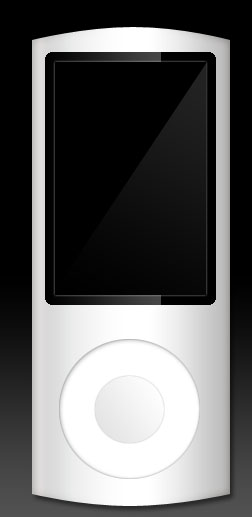
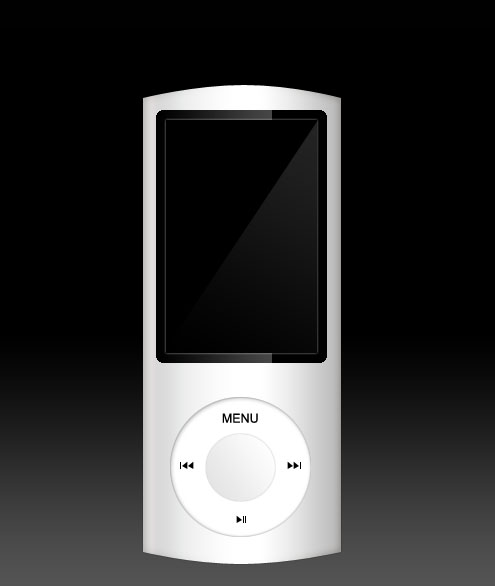
Results should be something like this.
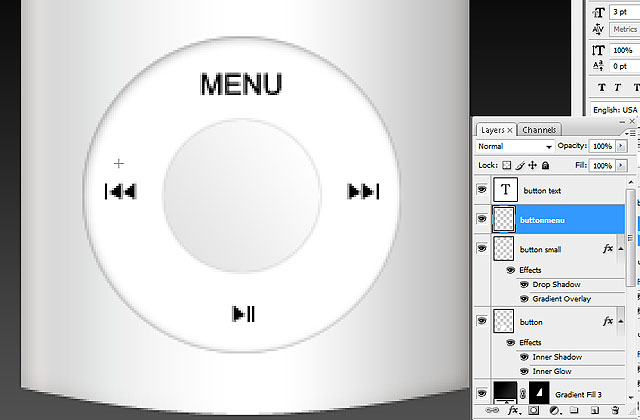
Time to add the MENU. Do so by using the TYPE TOOL. As for the arrows, you can use either the SELECTION TOOLS, PEN TOOLS, or for the BRUSH TOOL.
We’re almost done. You can stop here, but it’s better to add a bit of reflection at the bottom of the ipod. MERGE the layers EXCEPT THE BACKGROUND LAYER. Then, DUPLICATE the layer with the ipod, as shown below.
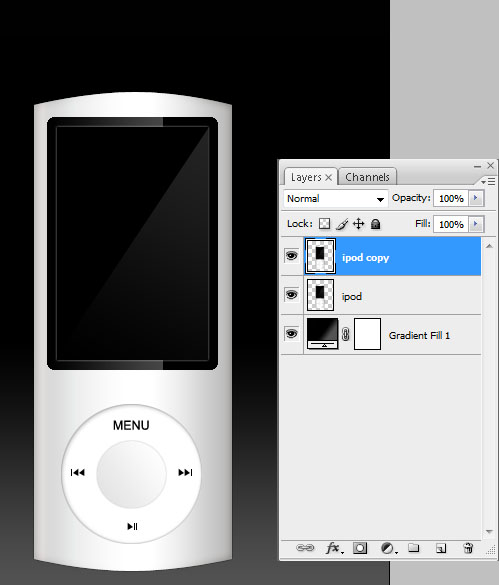
For the ipod layer at the bottom, go to EDIT > TRANSFORM > FLIP VERTICAL. You may need to move the ipod layers to achieve the effect below.
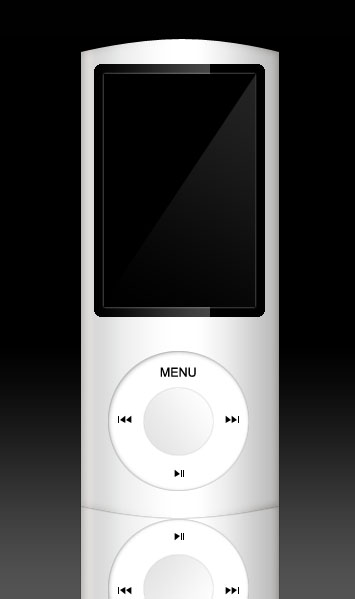
Get the ERASER TOOL. Use VARIOUS SIZES with VARIOUS OPACITIES to achieve the effect below.
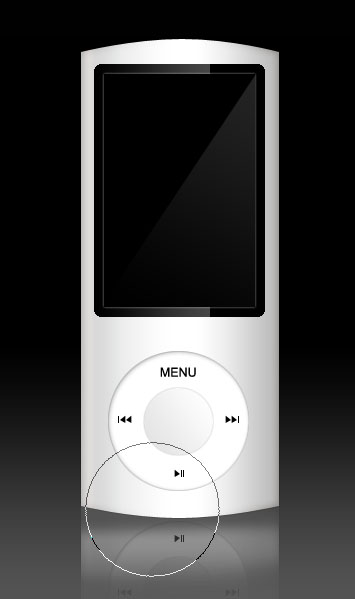
TIP: It’s best to blur the reflection layer a bit by going to FILTER> BLUR> GAUSSIAN BLUR> 1.0
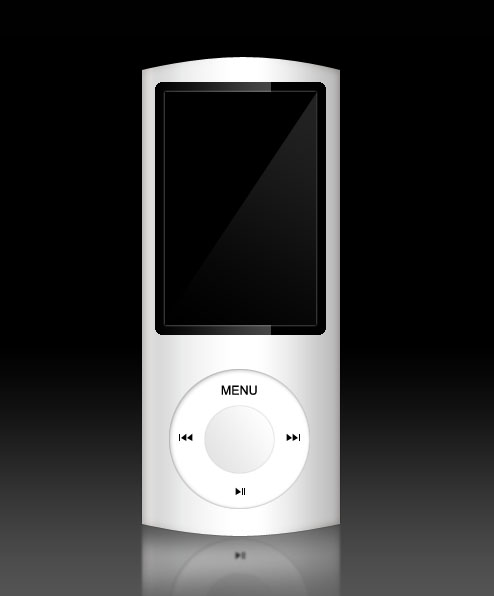
And now, we’re done! Depending on your chosen gradients, you can actually have a variety of colors for your Photoshopped ipod. Have fun!