Bring deep space closer to home with this nebula Photoshop tutorial
In our previous tutorial, we took you closer to home with our moon Photoshop tutorial. For today’s tutorial, as we did with our previous Spiral Galaxy tutorial, we are going further out in space once more by creating our very own deep space nebula using Adobe Photoshop.
This tutorial will show you that we don’t necessarily need our own Hubble Space Telescope to come up with stunning nebula images.
let’s go small with 450 x 350 pixels, 72 dpi. Make sure the background color is BLACK.
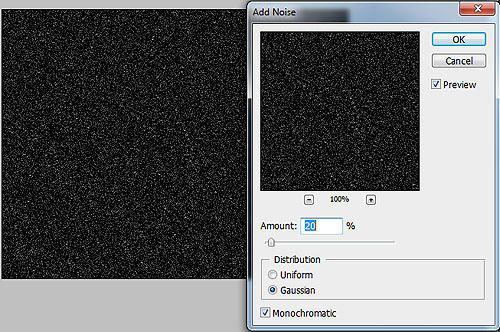
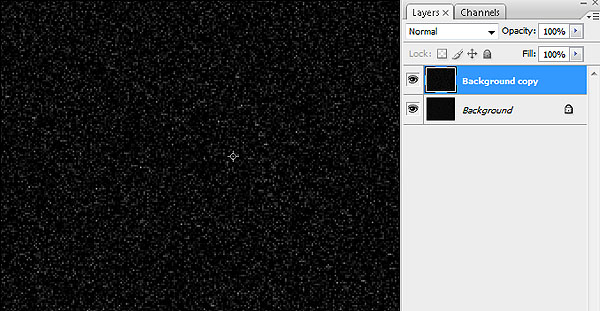
Go to FILTER > NOISE > ADD NOISE with the values: Amount 20%; Distribution Gaussian; Monochromatic.
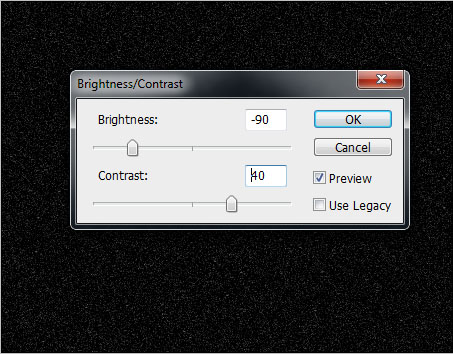
Go to IMAGE > ADJUSTMENTS > BRIGHTNESS AND CONTRAST with BRIGHTNESS at -90 and CONTRAST at 40.
DUPLICATE THE BACKGROUND LAYER and RESIZE the BACKGROUND COPY LAYER. Do this by pressing CTRL + T and dragging the layer into a larger size.
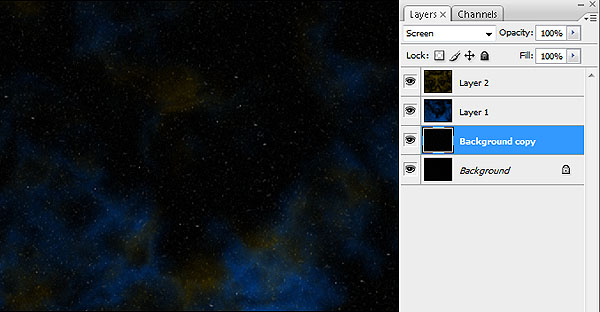
Change the Background Copy layer’s Blending Mode to SCREEN.
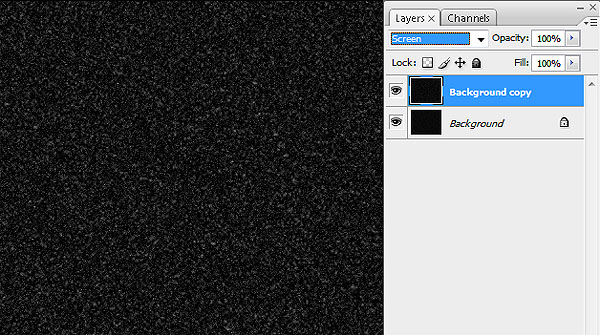
NOTE: Don’t worry if the image seems a bit dusty. That’s for visibility purposes. We will edit this further as we go on with our Photoshop tutorial.
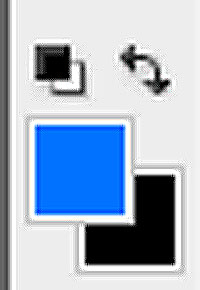
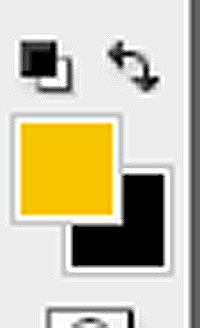
Next, make sure you have you BACKGROUND COLOR at BLACK and your FOREGROUND COLOR at a VIBRANT BLUE COLOR.
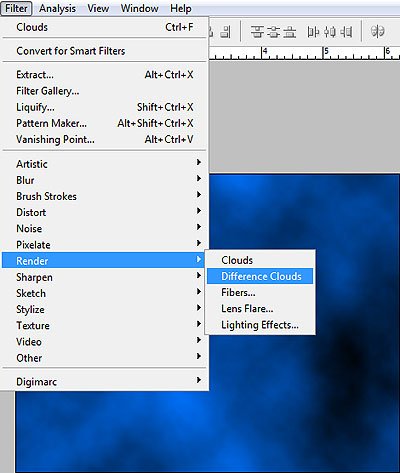
Then, go to FILTER > RENDER > CLOUDS.
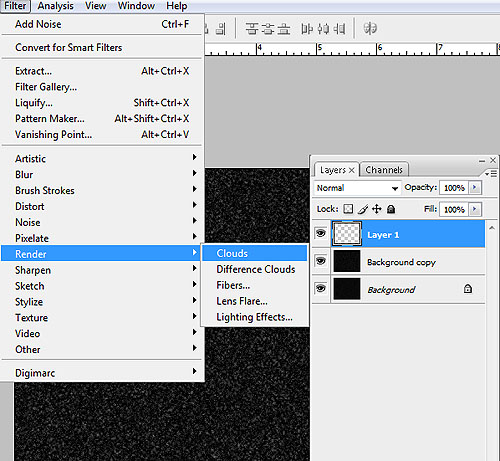
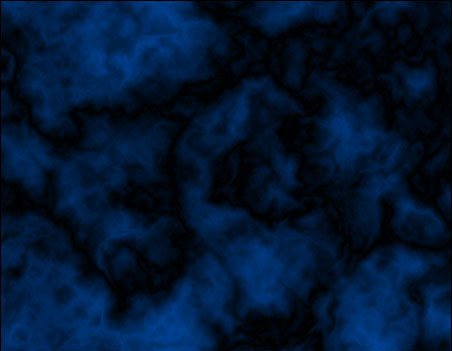
You should have a nice bluish cloud by now, but it’s not exactly the nebula we are going for in this Photoshop tutorial. So go to FILTER > RENDER > DIFFERENCE CLOUDS. You may need to repeat the process to get the results you want. Do this by pressing CTRL + F.
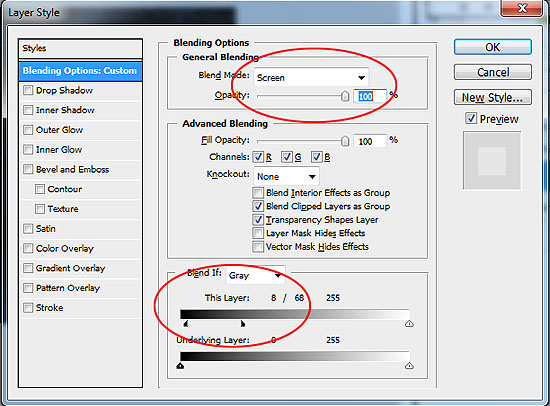
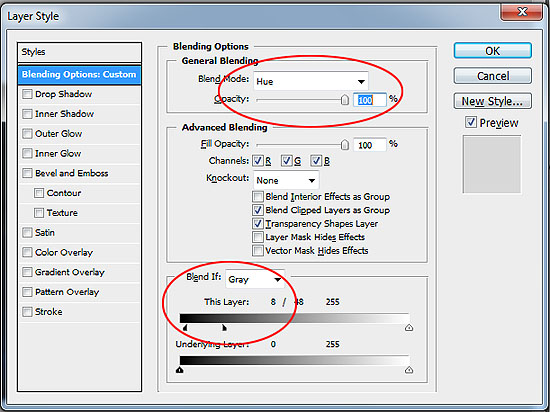
DOUBLE CLICK the clouds layer to let the LAYER STYLE WINDOW pop out. Change the BLEND MODE to SCREEN. Then, look at the bottom of the layer style window and you should see THIS LAYER. HOLD THE ALT KEY and drag the arrows. Make sure they are separated into two arrows and drag them to your desired results. Please refer to the image below.
Results should be something like this. Again, don’t worry about the stars in the background. We will fix that later on in this Photoshop tutorial.

Now, ADD A NEW LAYER on top of the CLOUDS LAYER. This time, change your FOREGROUND COLOR to another vibrant color, preferably somewhere between yellow and bright orange.
Repeat the process you did with the clouds layer. FILTER > RENDER > CLOUDS, then FILTER > RENDER > DIFFERENCE CLOUDS (again, you may need to repeat the difference clouds process). You should have something like the image below.
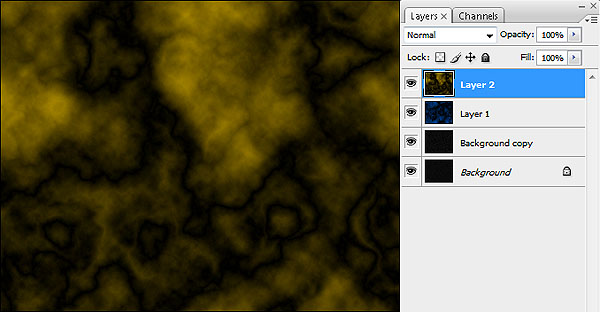
DOUBLE CLICK on this new cloud layer. Once the LAYER STYLE WINDOW pops out, change the BLEND MODE to HUE. Also, like what we did earlier, HOLD THE ALT KEY and drag the arrows of the THIS LAYER option until you have the results you want.
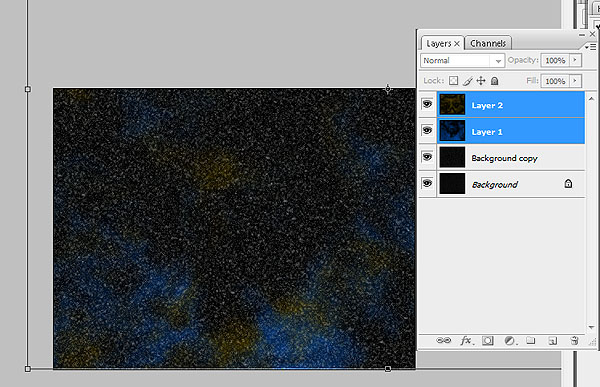
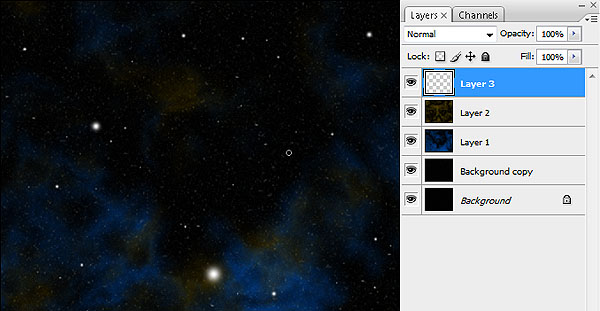
Now, we have two clouds layers, each of a different color. Select both layers by HIGHLIGHTING ONE OF THE CLOUDS LAYERS then HOLDING CTRL and CLICKING THE OTHER REMAINING CLOUD LAYER. You will then need to resize both layers at the same time, and you can do this by pressing CTRL + T and dragging both layers to a larger size. Refer to the image below.
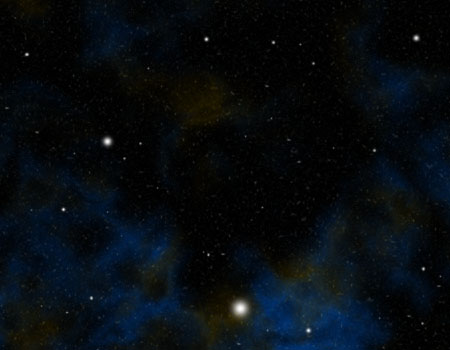
You may notice that the background still appears too dusty. Now it’s time to fix that. Go to the BACKGROUND LAYER and go to IMAGE > ADJUSTMENTS > BRIGHTNESS AND CONTRAST. Make sure the contrast is high and the brightness is low. Do the same for the BACKGROUND COPY LAYER. Your results should be something similar to the image below.
And finally, add a new layer on top of all the other layers and using varying sizes of SOFT BRUSH TOOL with the COLOR WHITE, add in a few “stars”.
There you have it. With this Photoshop tutorial, we have reached deeper into space and took our shot at a deep space nebula. Now try this tutorial again at a larger canvas. Go and create backgrounds or wallpapers for your desktop or website.