Must Read Links for Web Designers and Developers – Volume 17

Here we are, another Friday and another edition of ‘Must Read Links’. Take some time and check these are, there are a lot of fun and informative things to discover. Have fun!
CSS
Demo: Pure CSS GUI icons (experimental)
An Introduction to Object Oriented CSS
Bricss – Bite-sized CSS and HTML nuggets
Create a noise backgrounds with CSS
Creating CSS3 Navigation Menus: Fresh Tutorials, Techniques and Tools
Fluid Grids—a fluid grid calculator by Harry Roberts
25 Important CSS Tools and Generators for Developers
How to Create Diagonal Lines with CSS
How To Create Flexible Images And Media In CSS Layouts
CSS Tricks for Smart Quotes and Tooltips
Fonts
Ten Awesome Alternative Free Web Fonts
Font Collection: 10 Free Slab Serif Fonts Vol. 2
jQuery
jQuery google api and other google hosted javascript libraries.
Signs of a poorly written jQuery plugin
Top 10 jQuery Slider Tutorials
25 Fresh and Best jQuery Image Galleries and Plugins
15 Powerful jQuery Tips and Trick for Developers
8 New and Useful jQuery Plugins
Blankit for jQuery – set your targets to blank
Photoshop
15 High-Quality iPhone PSD Templates Free to Use
33 Fresh Photoshop Tutorials for Creating Web Layouts
25 CD Disc Photoshop Vector Shapes
Create Re-usable Button Styles in Photoshop
[Freebie] “Educons” Icon Set (PSD included)
Dramatic Broken Glass | Effects Tutorials
Design a Surreal Retro Futurism Scene
12 beautiful color palettes (PSD)
Mix and Match Infographic Templates PSD
Web Design & Development
Useful Web Design Proposal Resources, Tools, and Apps
HTML5 and CSS3 Form References, Resources and Tutorials
15 surefire ways to speed up your site
28 Free Social Media Icons with Photoshop PSD
44 New Digital Media Resources You May Have Missed
How To Use Media Queries For Device Targeting
Following A Web Design Process
Using the Black Box Model to Design Better Websites
Is Content Necessary Prior To Web Design?
Custom Web Design Techniques for Unusual Navigation
5 Simple Tips for Creating an Effective FAQ Page
Basix: Common Mistakes in Web Design
Five Copywriting Errors That Can Ruin A Company’s Website
10 Productivity Tools To Save More Time Online
Creating Depth in Web Design: 5 Design Tricks
WordPress
16 Unusual Ways to Build Great WordPress Websites
Custom designed WordPress options screens need to go
Let me know what you thought of this week’s links in the comments, I would love to hear your feedback. Have a great weekend!
Leave Your Photo In Pieces With This Photoshop Tutorial

Everyone has probably experienced heartbreak or two. Whether or not you tore apart the photo of you and your ex in anger, or your mischievous devil of a toddler decided Mommy and Daddy’s picture would make for good confetti, this tutorial is for you.

What we have here is a simple step-by-step guide on how to create a torn photograph, with pieces lying on a floor (or tabletop, depending on how you look at it). For this, you will need a stock image of a photograph (a couple, a family, a tree, take your pick) and of a wood pattern (you can even use a marble floor pattern).
STEP 1: Put your wood pattern over the background layer. Make sure it’s a separate layer, since you may need to adjust the Brightness and Contrast to suit the photograph you will be adding later.

STEP 2: Place the photograph in a new layer over the wood pattern layer.

STEP 3: Add a layer style to the photograph. Click on Inner Glow and pick a color that is somewhere between brown and orange, but a little more on brown. Change the blend mode to Linear Burn. Make sure that the Opacity is set at 100%. Range should also be at 100%, and depending on the size of your picture, increase the Size of the Inner Glow until you achieve similar results to the picture below.

STEP 4: For the next Layer Style, pick Outer Glow and set the Opacity at 100%. Make sure the Blend Mode is set to Normal. Choose a dark brown color with a little red, but more on the brown. Make sure though that your Outer Glow brown is much darker than your Inner Glow brown. Size should be around 3, and Range at 25 (again, this depends on the size of the image but just make sure the Outer Glow comes out nice and thin).

Note: It may be good to lessen the saturation of your photograph, like what I did above.
STEP 5: This will be the last Layer Style. Choose Drop Shadow and set the Blend Mode at Multiply. Opacity should be 75% at most. Then, change the direction of the shadow depending on your light source. Keep the shadow close to the photograph, so it doesn’t seem as though your photograph is floating out in space. For this tutorial, Distance was set to 7, Spread to 20, and Size to 15.

STEP 6: Pick the Eraser tool and use Chalk 23 Pixels. Depending on the size of your photograph, you may need to increase the size of the Eraser. Size 40 is recommended.

STEP 7: Start erasing your photograph into pieces.

STEP 8: Using the Marquee Tool, pick out the pieces, and press Ctrl+T to rotate and place it to your liking.

Now you have photograph pieces on the floor! Hope you enjoyed this tutorial and if you want to clean up, photoshopping a vacuum cleaner or a broom is a whole new tutorial altogether.
The Evolution of Smartphones – Infographic
Smartphones have come a long way since they were first introduced several years ago. In 2000 it was hard to imagine we would have a device like the iPhone or Evo, but thankfully we do. Check out our infographic and take a look at just how much these smartphones have changed. Enjoy!
600 pixels wide version
760 pixels wide version
1000 pixels wide version
The top 10 to-do list managers
Staying organized and remembering every single task is so much easier when using the correct tools – while pen and paper might still work for many of us, there are software packs and online tools, which are far more sophisticated and come with features that would please even the most demanding user. Listed below are the top 10 to-do list managers, some of them free, some paid, but any of them is likely to help you stay focused and manage your day-to-day tasks easily:
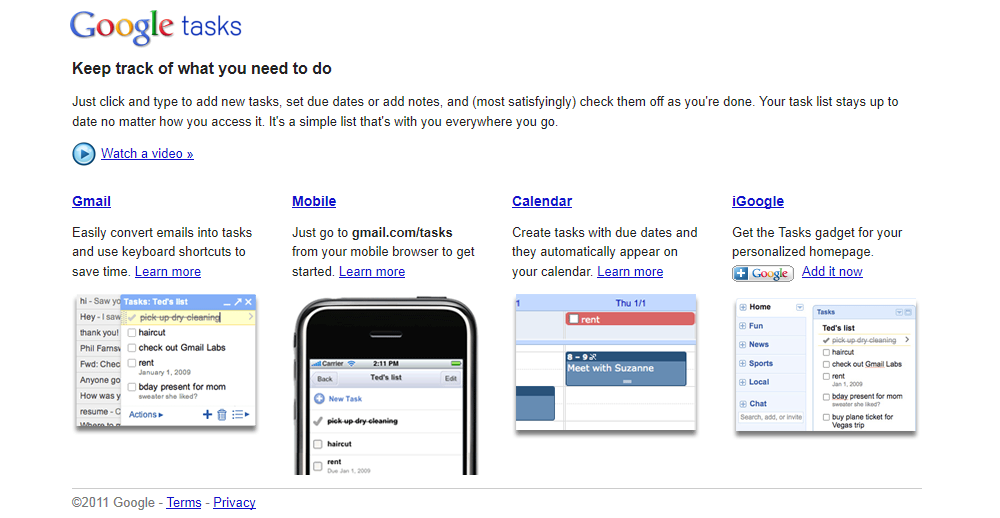
1. Google Tasks
Works with Gmail, Google Calendar, and iGogle, and is free of charge. You can access tasks from within your Gmail inbox, create tasks and sub-tasks, move tasks, switch between existing links, tick off tasks that are done, and clear completed tasks from your lists. Using Google Calendar, you can create to-do lists as well, add tasks with due dates, add dates to already created tasks, mark completed tasks, and even sort tasks by due date. In addition, you can add a Task gadget to your iGoogle homepage and use it to manage your to-do lists.
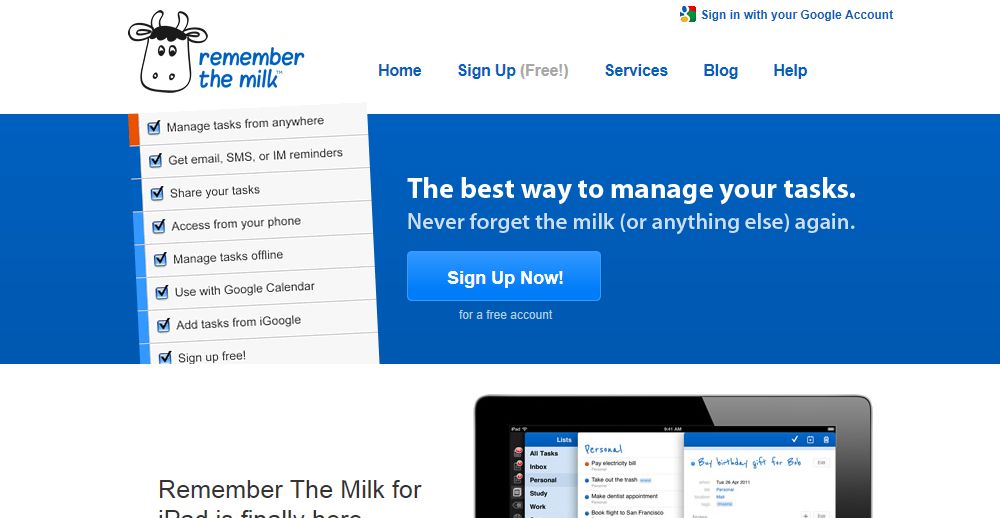
2. Remember the Milk
A very simple to use online to-do list manager, which comes in free and pro versions. It is available in close to 30 languages and it can be integrated into Gmail or used in iPad, iPod touch, iPhone, Twitter, BlackBerry, Window Mobile, and various other third party applications and services.
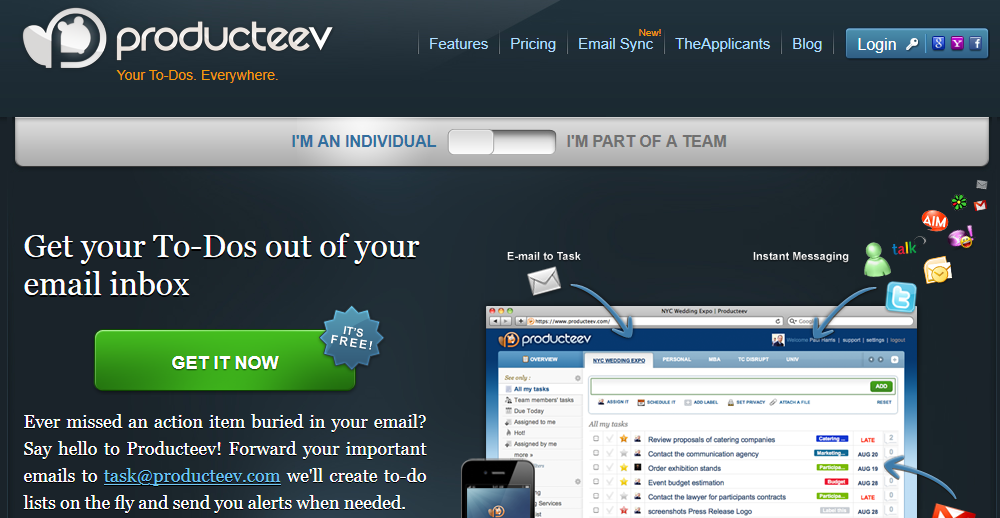
3. Producteev
A versatile and powerful task manager, which comes in Free, Plus, Premium, and Platinum versions. It offers multiple team support, reports and filters, email digest, hot tasks, and can be used with Gmail. In addition, Producteev could send alerts to your email or any of the instant messengers, which you already have installed on your computer.
4. Flow
A paid, web-based to-do manager, which offers 14-days free trial. The service could be accessed from your web browser, email, mobile phone, or Mac and it allows you to easily add tasks, assign tasks to other users, attach files and leave comments, and send instant notifications.

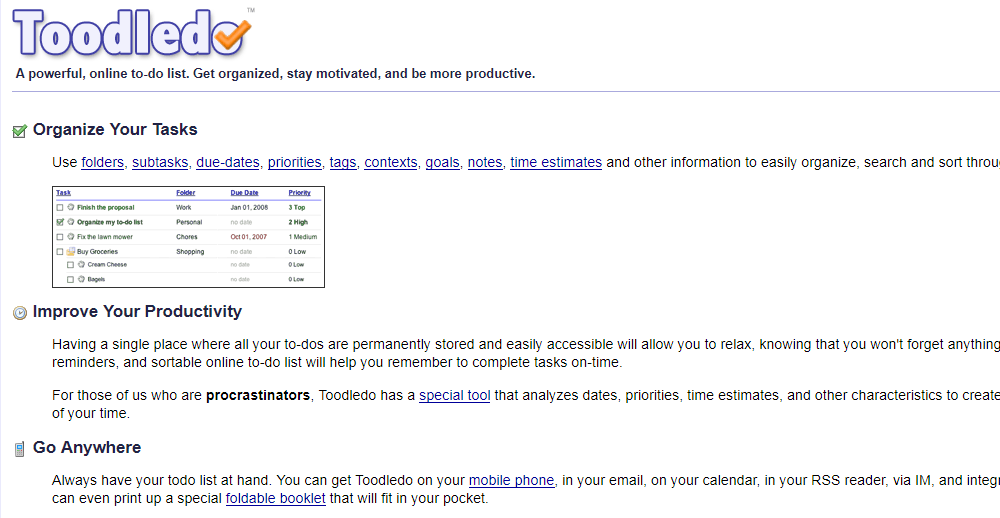
5. Toodledo
Available in Free, Pro, and Pro plus version and has some excellent features, amongst which deadlines, priorities, tags, notes, goals, status, search, history, and many more. The Pro version offers full collaboration, statistics, subtasks, chains, and auto-scheduler and the pro plus version supports file uploads.
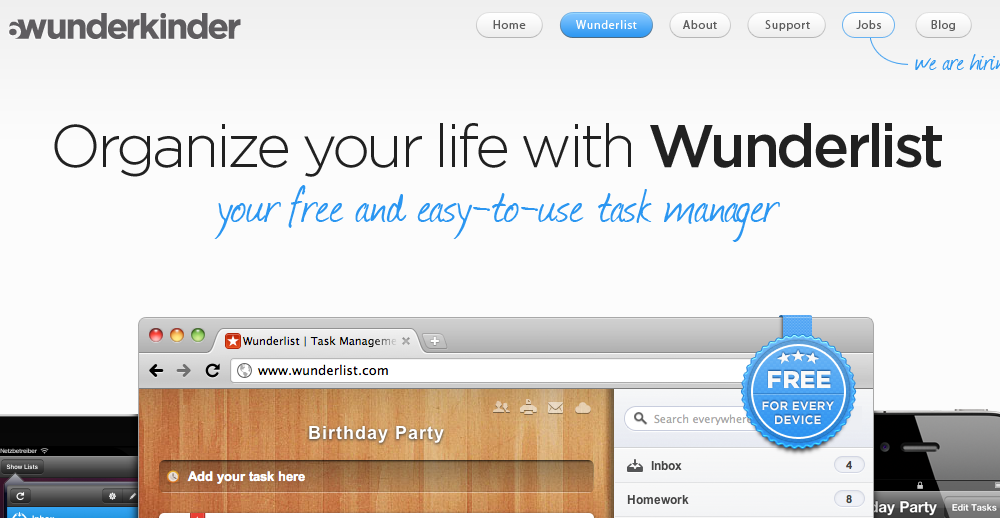
6. Wunderlist
Works on Windows, Mac OSX, iPad, iPhone, and Android and it can be accessed online as well. Once the lists are created, you can share them on Facebook, Twitter, or via email and invite friends or colleagues to work with you.

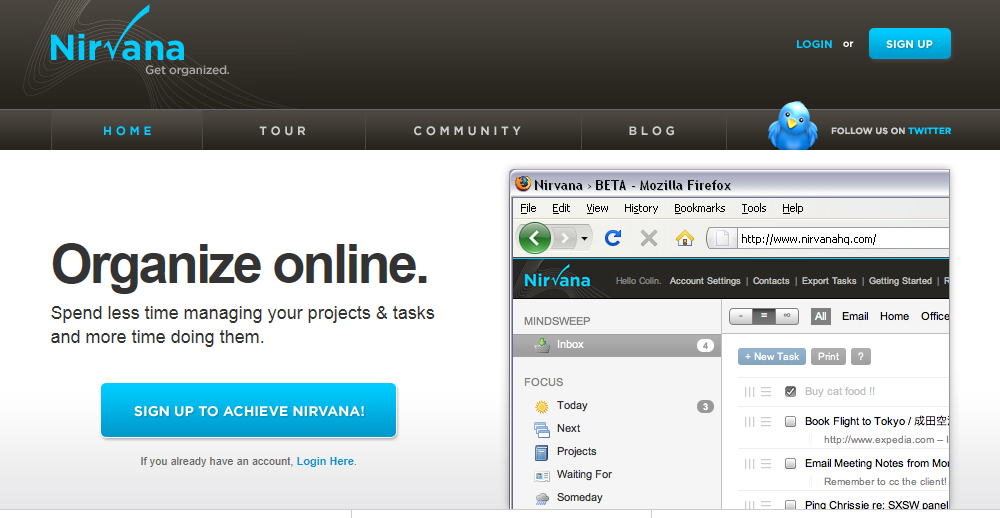
7. Nirvana
Free, has clean interface, and offers some excellent features. It allows you to create to-do lists and file them away, search your tasks, organize them by project, add tags, and access them from anywhere. In addition, the tasks can be assigned to other users, completed tasks can be archived, and projects and tasks exported any time.
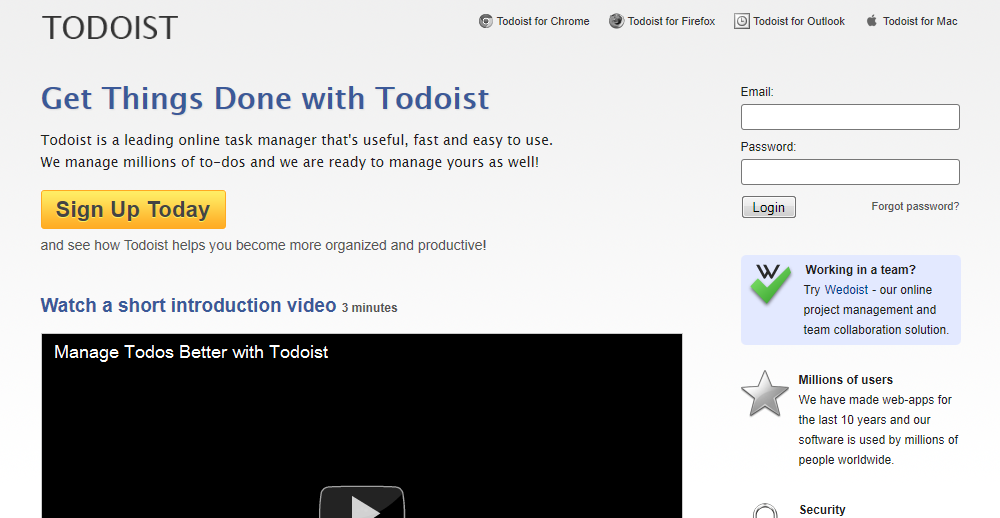
8. Todoist
Free and it has simple interface, built-in calendar. It supports sub-tasks, sub-projects, widgets, and labels and the service can be integrated with Gmail and Outlook, and used as Chrome or Firefox plug-in.
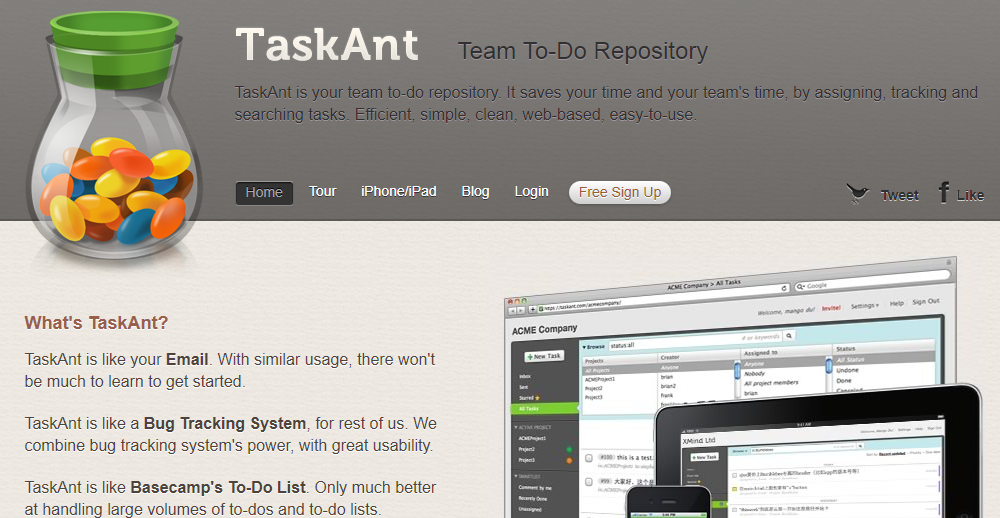
9. TaskAnt
Comes with very clean interface and allows the users to add tasks, assign them to other project members, cancel or merge tasks, browse or search tasks, and save task searches as Smartlists.
10. Ta-da list
Works with almost all popular web browsers and it can be used on a PC, Mac, and iPhone. It allows its users to create lists and share them with friends or colleagues, or keep them private.

These are just a few of the to-do apps available, there are many more. Do you have a favorite or have you used one of these? Please tell us about it in the comments.
8 Productivity Tips for Web Designers
Many freelancers are having hard time staying focused and productive especially if they are working from home, where the distractions are many. Working on design projects day in and day out could be challenging and even exhausting, but we can give you a few pointers on how to organize your work, make it more interesting, and increase your productivity:
Buy the Right Hardware
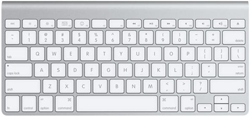 While the average mouse, keyboard, and monitor are adequate for the average computer user, as a web designer or developer you would want hardware, which will maximize your productivity. A top quality LCD monitor with faster refresh rate, high native resolution, good contrast ratio, decent size, and greater viewing angle is ideal, and when coupled with good keyboard and mouse, fast computer, and top of the range video card could help you work faster and smarter.
Use the Right Tools
When it comes to web design, using the right tools is crucial. Some of the top software packs could be quite costly, but they are an investment well made. Spend adequate time on research, find out what other designer use and love, and download and use trial versions of the software whenever possible in order to evaluate it before buying. Do not be tempted to download and test every single software tool that comes out, even if it is a freeware – staying up-to-date on the latest tools is great, but cluttering your computer with countless programs that you would never use is unproductive.
Go to Work Every Day
 Even if you work from home, you need to get into the work habit. It is always best to have a dedicated home office, where there is no TV or any other distractions and where you can focus on your projects.
Have a Schedule
Most specialists recommend that every 45 minutes behind the computer are followed by 10 to 15 minutes break. This would help you avoid straining your eyes, putting too much pressure on your spine, and even avoid back injuries. If you find yourself glued to the monitor for hours, then you might want to set your alarm clock to go off every time it is time to take a break. Having a routine and keeping “office hours” would help you get more work done in less amount of time.
Take a Day Off
You should have one or two days of per week. While there is no golden rule as to whether you should work five or six days per week, you need to have days off, which days would give you adequate rest. During your breaks, you should turn the computer and your phones off and spend quality time with your family and friends.
Avoid Procrastination
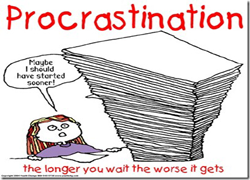 People often procrastinate when they work on something boring and repetitive. While taking on different, exciting, and challenging projects all the time might sound like fun, it is not always possible, and often you would find yourself having to work on similar projects over and over. One way to stay focused when this happens is to break them down into smaller pieces since completing every step of the project will give you a sense of achievement and will keep you focused and motivated.
Perfection is Your Enemy
Trying to perfect even the smallest details is a mistake, which many beginners make. While delivering top quality design for your customers is crucial for your success, if you find yourself tweaking every little detail and working days on a simple project, then you need to re-think your approach.
 Reward Yourself
Just like most organizations keep their top performing employees motivated by giving them bonuses, you can keep yourself motivated and productive by rewarding yourself for a job well done. Every time you achieve your goals, reward yourself with a great night out with your family, new pair of jeans, new book, or another treat that would help you stay motivated.
These tips will get you started on a path to being more productive, which will lead to being more successful. If you have a productivity tip of your own please share them with us in the commnents.
Guide to Buying an LCD Monitor – What You Need to Know
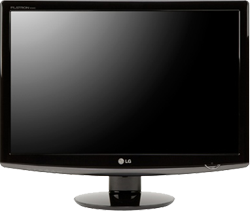 Keeping up with all the latest technological developments is often challenging and if you are on the market for a new LCD monitor right now, you could be easily overwhelmed by the choice that you have. The LCD monitors come in all sizes and price ranges, with different native resolutions, contrast, screen refresh rate, luminance, and coming with some additional features that could help you expand their functionality. In addition, you would have to consider your own needs, as some monitors are great for gaming and multimedia, while others are perfect for everyday use in the office.
Factors to Consider
What are the factors that you should take into account when buying an LCD monitor:
- Price – Buying the best there is could be tempting, but you have to search for a monitor that is within your budget. Luckily for all of us, the prices have dropped quite a bit in the past few years and today, you can find a decent LCD monitor for as little as $150. The affordable models will inevitably come with lower specs, fewer additional features, and cannot compete in terms of quality and performance to the top of the range models, but they could be adequate for the average user and ideal for various types of applications. On the other end of the spectrum are the LCD monitors, which cost up to $3000, deliver superb image, and which could help videographers, photographers, engineers, and other processionals be more productive.
- Size – Ranging from 15 to 30 inches in diagonal, the larger monitors are typically costlier, but not necessarily better for all users. Larger monitors are giving you larger work area, but smaller ones could be perfect for users that have limited office space or do not have powerful enough video card that can support the higher native resolution of the larger LCDs.
- Resolution – Higher native resolution delivers better viewing experience. The resolution of the LCD monitors is measured in pixels and the native resolution is the amount of physical pixels on the monitor. In addition to the native resolution, the LCD monitors can display other resolutions as well, but this is achieved by scaling the image. A full high definition resolution of 1920 x 1080 ensures excellent quality, but monitors with native resolution of 2560 x 1600 or higher are available as well.
- Pixel response rate – Measured in milliseconds, the pixel response rate refers to the speed at which a pixel is capable of changing its color. Higher pixel response rate ensures that there is no streaking effect or ghosting when a moving or changing image is displayed.
- Aspect ratio – most LCD monitors have a 4:3 aspect ratio, but some newer models have 16:9, which is the universal format for high definition movies.
- Luminance – The brightness, which the LCD monitor is capable of producing. Luminance is measured in candelas or nits per square meter and while 500 nits or higher is better for watching movies, 200-250 nits is adequate for most other applications.
- Contrast ratio –The difference between the whitest white and the darkest black. Higher contrast ratio is preferable, but some manufacturers list inflated and unsubstantiated numbers.
- Additional features – built-in speakers, embedded webcams, USB ports, and adjustable stand are some of the additional features that deserve consideration. Some monitors come with glossy, while others have mate screens and each type has its advantages and disadvantages.
LCD Panel Technology
There are three popular LCD panel technologies, namely TN (), VA (Vertical Alignment), and IPS (In Plane Switching).
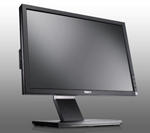 The TN panels are the most widely used since they are affordable and have high response rate, making them perfect for the average user and the gamers alike. However, they pale in comparison to the other two panel types since they have to use dithering in order to display the full 16.7 million colors of the 24-bit color standard. Viewing angles, color reproduction, and contrast ratio of the TN panels are also worse than the same specs of the VA and IPS LCD monitors.
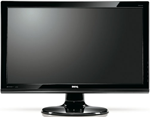 The VA panel displays have good contrast ratio, which delivers better black levels, better color reproduction than the TN panels and wider viewing angles. Their major disadvantage of the VA panels is “color shifting,” which results in loss of shadow details and uneven brightness levels.
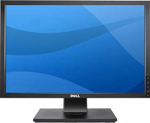 The IPS LCD monitors are the top of the range and offer excellent color reproduction, wide viewing angle, and superb image quality. They also have an adequate response rate, which is only slightly lower than the TN monitors response rate. The biggest drawback of the IPS panels is their high price, which is the main reason these monitors are used mostly by professionals, looking for top performance.
Monitor Types
Budget LCD Monitors
Most of these are TN panel monitors, which come with little or no additional features, have rigid stands, and cost a few hundred dollars at most. While they are not perfect, they could be more than adequate for the average user or for the office.
Professional LCD Monitors
Suitable for a wide array of applications and are typically recognized by their higher price, IPS panel type, adjustable stand, and various additional features such as built-in speakers, USB port, web camera, and decent warranty. These are the monitors, which offer the best in terms of performance, grayscale accuracy, and color reproduction.
Gaming displays
Accurate display of moving images is crucial for the gaming LCD monitors and these are typically the ones with faster response times. Moreover, a gaming monitor should have higher contrast ratio, 1280 x 1024 or higher native resolution, and different digital inputs.
Multimedia displays
Similar to the gaming LCD monitors, the multimedia displays should have a variety of inputs such as VGA, DVI, and HDMI, which will allow the users to link different sources to them. Two or more USB ports, higher-end audio speakers, and additional features such as TV tuner, built-in card reader, or webcam are also desirable.
As you can see there are a lot of different options when buying an LCD monitor. If you are in the market for a new one hopefully reading this guide has answered the questions you have about LCDs.
Please feel free to ask questions or share additional information in the comments.
Must Read Links for Web Designers and Developers – Volume 16
Welcome back to another post jam packed with awesome links for anyone interested in things from CSS to Photoshop to WordPress. Enjoy!
CSS
Mastering CSS Reflections in Webkit | Design Shack
Sprite Cow – Generate CSS for sprite sheets
Create Custom Web Buttons Using Image Sprites
How To Develop Elastic Grid Layouts In CSS
4 Useful CSS Related Google Chrome Extensions
Fonts
Beautiful rounded fonts for FREE download
10 Iconic Fonts and Why You Should Never Use Them
13 New Fonts to Download and 10 Amazing Font Tutorials
15 Fresh and Free Fonts for the Week
jQuery
Fundamentals for Great JavaScript and jQuery Development
Five Useful Interactive CSS/jQuery Techniques Deconstructed
Photoshop
VunkySearch – Photoshop Tutorial Browser
10 Creative Sticker Pack with Source File
Basic Techniques to Constraint Text in Photoshop
How to Create an iPhone in Photoshop
Quick Tutorial – Creating a Letterpress and Embossed Text Effects in Photoshop
Icy Blue Abstract Photoshop Patterns
500+ Must Have Grunge Photoshop Brushes for Designers
Apply a Tilt-Shift Effect to a Video Using Photoshop
Web Design & Development
Building Tabbed Navigation using SpryTabbedPanels
HitMap – Click Thermography for Your Website!
30 Useful Sites for Web Developers
WriteMaps Site Map Application: Create, edit, and share your sitemaps online.
localtunnel: instantly show localhost to the rest of the world
40 Best and free useful Mac applications for Web Designers
25 Must Have Firefox Add-ons for Web Developers
Responsive Web Design: I Hope It’s For Real This Time
How to Sell Your Design Online
10+ Absolutely Free Android Apps for Web Designers
WordPress
10 Essential SEO Tips for WordPress
WordPress for Government Websites
Secure uploads, upgrade and other directories with .htaccess
Have a great weekend. Next Friday we will have a brand new infographic to share with you.
Ultimate WordCamp Survival Guide
I recently had the preveldge of going to my first WordCamp. This was the first WordCamp ever held in Kansas City so there were a lot of first time campers there. For those of you who are not familiar with this technology conference, it is basically an event for WordPress publishers, developers, designers, and all around WordPress enthusiasts. From my experiences I thought a guide with information how to prepare for your first WordCamp might be helpful to others.
Use Twitter
To paraphrase Syed Balkhi of WPBegginer, if you are not using social media because you do not like it, get over it. When going to WordCamp make sure that you are ready to use Twitter on whatever device you bring with you. Failing to embrace Twitter at WordCamp will result in a lot of missed conversations and other great information. For instance, the organizers in Kansas City tweeted the winning ticket numbers for prizes. There were also other campers live tweeting other sessions, which was great since it is impossible to be in both presentations at the same time.
Be Prepared to Network
While the main goal of WordCamp is to learn more about WordPress it is also a great time to meet other likeminded folks and learn from them as well. Do not go in with the attitude that you are just there to attend the various presentations because you will miss out on a lot of educational opportunities. The speakers at WordCamp are not the only WordPress experts in attendance, far from it.
Bring Business Cards
Business cards are the one major thing I wish I would have brought that I did not. There is no excuse for this either since you can get them from Vista Print or Moo free of charge, all you do is pay the shipping. Even if you do not think you will need them try to bring some, it makes exchanging your information with others much easier. Your time will be better spent visiting with others about all things WordPress instead of trying to spell your Twitter name or email address.
Do Your Research
The presentation schedule for WordCamp will be posted way before the event ever takes place. Take this opportunity to download the schedule and do a little research on the different sessions. You may be a designer but there is a chance the publisher or developer talk that may interest you. Doing your research ahead of time you will be able to lay out your game plan and attend the sessions that most interest you. By keeping an open mind and not limiting yourself you will be able to get a lot more out of the conference and really enjoy yourself.
Be Familiar with WordPress
While WordCamp is an educational opportunity, the sessions are typically aimed at intermediate to advanced users. I am not saying that beginners should go, but if you are new to WordPress and attend do not get frustrated if things seem to be over your head. WordCamp provides an excellent opportunity to ask campers and speakers questions and get a better understanding of certain aspects of the CMS.
WordCamp Must Haves
- Notepad and Pen – Even if you bring a laptop/netbook with you an old fashion pen and paper will also come in handy. Especially between sessions when you want to jot something down but do not want to go through the hassle of firing your PC up.
- Smartphone/Laptop/Netbook/Tablet PC – Bring a device you will be able to use Twitter on. I used my iPhone and it worked just fine for me, plus I did not have to carry a laptop around. Though I will say a laptop or tablet PC is great for checking out resources presenters share during the presentation.
- Chargers – If you bring one of the above devices bring your charger. I can only speak for WordCamp KC but they had ample power strips to plug your devices into and charge them.
- Backpack – Bring a bag to make carrying around your swag much easier. Though you may prefer to just go out to your car in between sessions and leave it there. Avoid overburdening yourself trying to carry all your stuff around. It will make your WordCamp much less stressful.
Other WordCamps may vary but I can tell you that we were provided with adequate food and beverages through the conference. This included breakfast, lunch, and snacks as well as cold drinks and coffee.
The bottom line is, if you ever have an opportunity to attend WordCamp and you are the least bit interested in web design, development, blogging, and of course WordPress, GO! It is a great opportunity to meet a bunch of great people and learn many new things.
Please feel free to share your WordCamp experiences or ask any questions about the conference in the comments.
Must Read Links for Web Designers and Developers – Volume 15
This is not only our 15th post jam packed with must read links for web designers and developers, it is also our 200th overall post. It is crazy how time flies, it seems like this blog started just 198 posts ago. Any way, check out all these awesome links, there is something for everyone!
CSS
4 Types of CSS Hacks for Web Designers and Developers
Most Important CSS Resources and Downloads for Web Designers
When Using !important is The Right Choice
Normalize CSS : necolas/normalize.css @ GitHub
A better way to deal with Internet Explorer conditional styles
2 and 3 Column Fluid CSS Layouts
In defense of CSS hacks — introducing “safe CSS hacks”
Fonts
8 New Free Fonts for Your Designs
10 Resources to Improve Your Web Typography
jQuery
10 Highly Useful jQuery Tutorials for Web Developers
8 Fresh and Useful jQuery Plugins | Resources
21 Excellent Examples of Sliders in Web Design
Compilation of the 25 Most Useful jQuery Plugins for Forms
Photoshop
How to create Kungfu Panda text effect in Photoshop
Design a Professional Wildlife TV Show Poster
500+ Best Photoshop Tutorials 2010 : The Best Photoshop Effects
Sidewalk Pavement Vol. 2: Texture Pack
How to Create a Set of Hand-Drawn Design Elements
20 Fresh Photoshop and Illustrator Tutorials for the week
80 Perfect Free PSD Web Buttons
How to create a Slick Pattern Embossed Text in Photoshop
Create a Vintage Coupon in Photoshop
Web Design & Development
How to Design a Clean Website Template From Scratch in Adobe Fireworks
Colors in Web Design: An Exploration
Javascript Mistakes You Must Avoid
10 useful .htaccess snippets to have in your toolbox | CatsWhoCode.com
Initializr – Start your HTML5 project in 15 seconds!
A Creative Touch To Your Layout
Building Strategies for Written Website Content
Top 10 Best Free eBooks For Designers And Developers
25 Freelance Web Designer Tools
50 Fresh & Free Icon Sets For Web Designers
Responsive Web Design: A Visual Guide | Nettuts+
Understanding Copyright And Licenses – Smashing Magazine
Get Ratio – Calculate the height for a given ratio
WordPress
10 Powerful WordPress Security Plugins and Tricks | DJDESIGNERLAB
Free HTML/CSS3 WordPress 3.1+ Theme with Responsive Layout
Myriad Pro: Create a Minimal WordPress Theme in Photoshop
WordPress › Toolbox « Free WordPress Themes
41 Top Quality Free Minimalist WordPress Themes
WordPress tip: Quick maintenance mode
Powering Your Design With WordPress
Jigoshop is a Free eCommerce Plugin for WordPress
Have a happy, relaxing, and safe weekend.
7 Outstanding Collaboration Tools for Web Designers
Working online comes with many advantages, but collaboration could be a challenge at times since you might be working with clients from all over the World and meeting them face-to-face is not always possible. This is where the collaboration tools come into play and they are the tools that allow you to share your tasks, projects, and work with clients and partners online, without having to leave your desk. Some of these tools offer only basic features, while others are more suitable for larger organizations, but we have decided to list the ones, which many web designers might find useful:
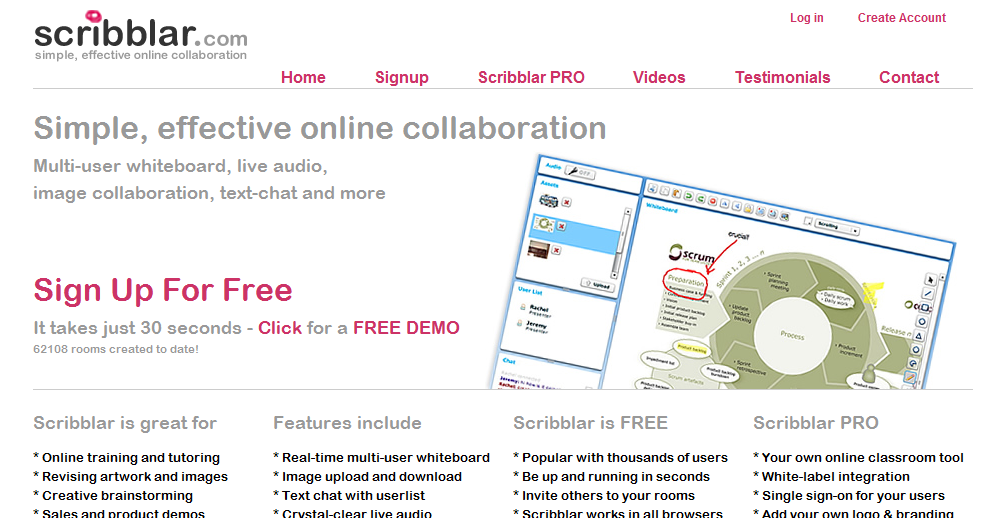
Scribblar
Offers multi-user whiteboard, text chat, image collaboration, and live audio, which allows you to collaborate in real time without having to use any additional software. Scribbler comes in free and Pro (paid) version, where the latter offers the ability to import the Scribbler functionality to your existing website. The application also allows its users to create public or private groups, use images, share PDF files and PowerPoint presentations, and even import website screenshots.
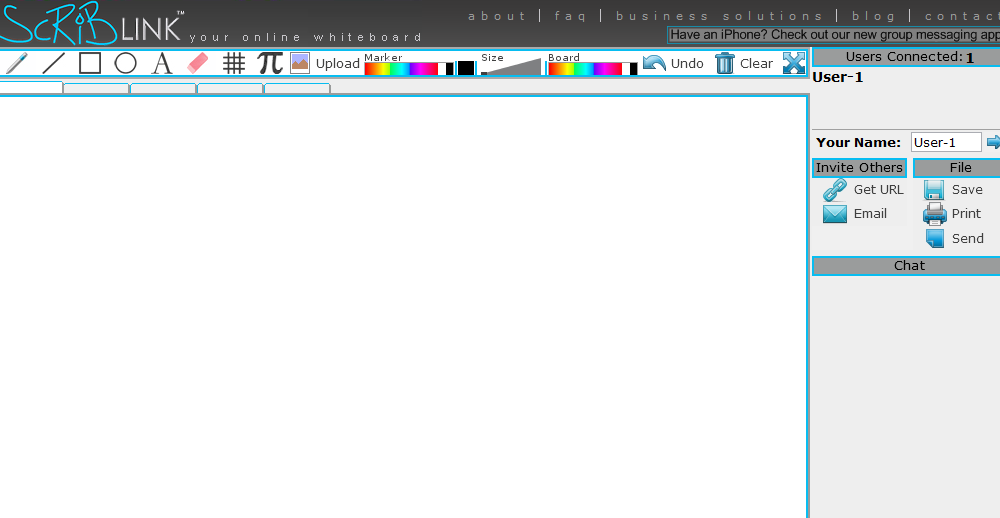
ScribLink
Is one of the sites, which allows you to share your scribbles easily, permits image uploading and file sending, and comes with VOIP, making it possible for a group of people to discuss their work real time and at no cost. ScribLink offers business plans, which come with fully loaded whiteboard, template customization, control panel, and unique ScribLink URL. The plans also allow for 10, 15, and 20 maximum users and 25 hours, 100 hours, or unlimited hours for the Silver, Gold, and Platinum plan respectively.
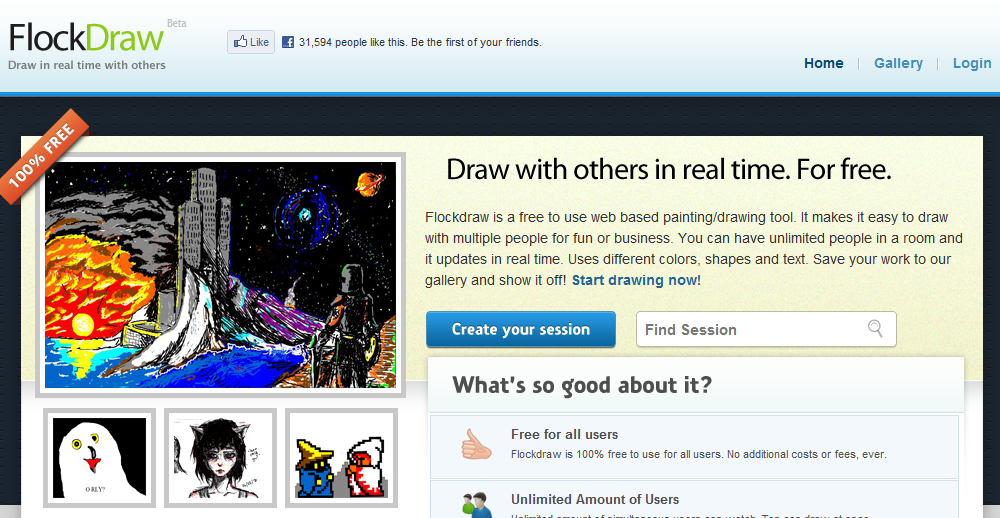
FlockDraw
Does not provide designers with any advanced tools, but is ideal for anyone, who wishes to share a few scribbles with friends, clients, or partners. Unlike most of the other websites, registration is not required and you can start working on a project by simply creating a session and inviting other people to join in either manually or via Twitter and Facebook. FlockDraw offers live text chat and unlimited number of users per session and its functionality can be extended by making use of some of the community created tools.
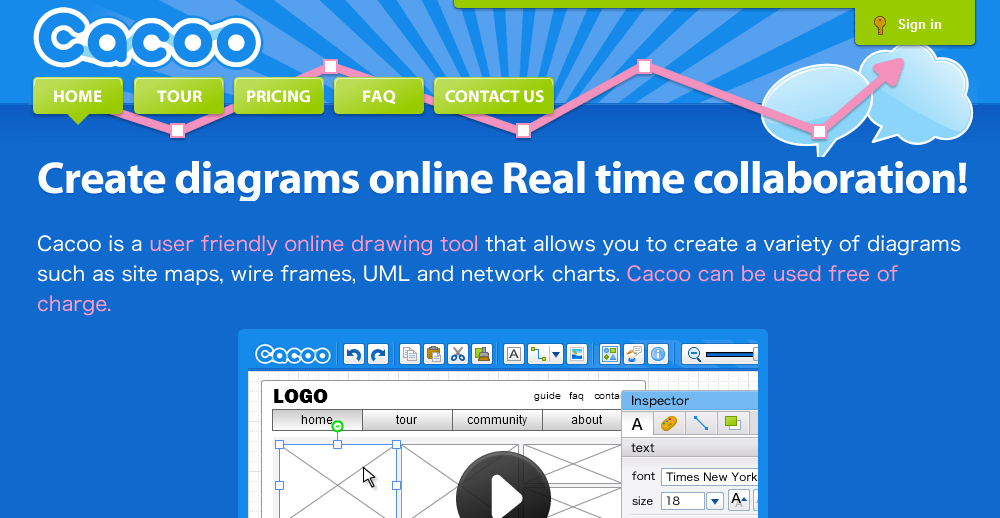
Cacoo
Tthe website to bookmark if you are looking for a place, where you can create appealing and flexible diagrams, export them and use them on your own sites or share them with clients and coworkers. The site offers Free, Plus, and Team plans, where the free allows you to export your work in PNG only, limits the number of allowed sheets to 25, and lets you save only one folder. The free plan is nonetheless ideal for most freelancers, who wish to share their projects with a single client or small group of people, while the paid plans offer features, which could appeal to the power user. Among these additional features are the ability to save your work in PDF, PS, SVG, and PNG file formats and have unlimited number of sheets, users, and shared folders.
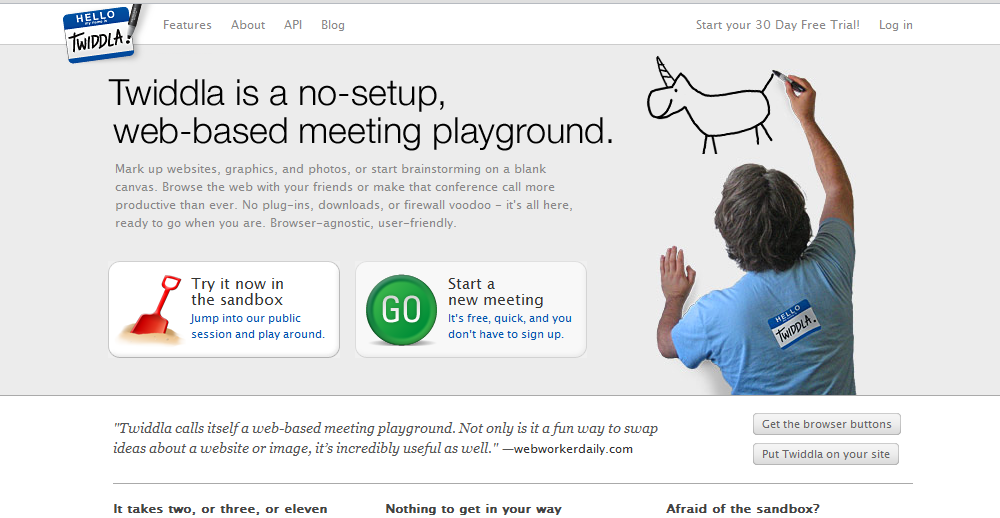
Twiddla
An excellent collaboration site, which does not require registration and allows its users to upload images, take site screenshots on the fly, share documents, create and attend meetings, and use voice chat. The paid Professional, Enterprise, and Universal plans add additional features such as custom URLs, meeting transcripts, unlimited storage, SSL security, API access, and more.
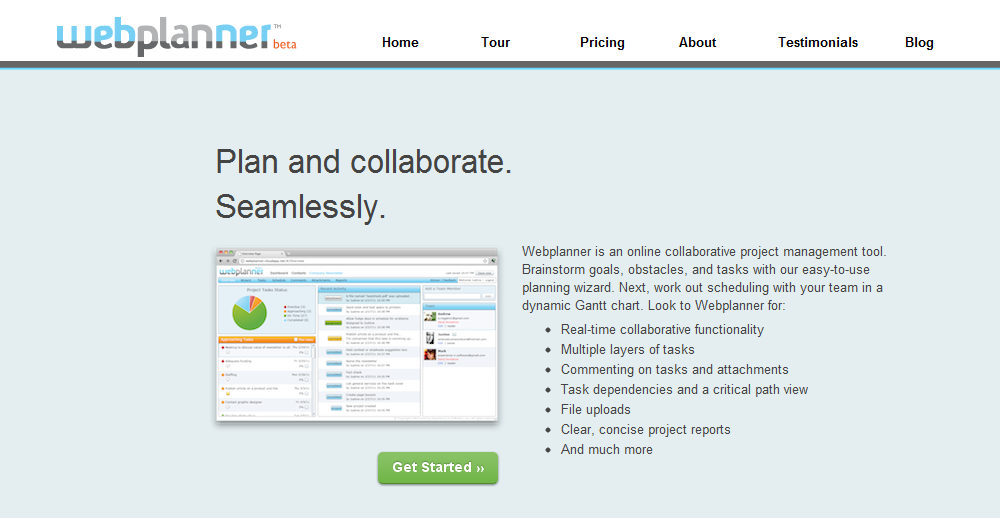
Webplanenr
Ideal for businesses that wish to share easily their tasks with clients and coworkers, but could be of use to individual web designers as well. The site offers free sign up and usage while it is still in Beta, as well as Basic and Standard plans, which provide unlimited new and invited projects, 5GB and 10 GB storage respectively, dynamic Gantt charts, email notifications, and PDF reports. A Pro plan with multi-project reports, 25GB storage, and use of HTTPS is expected to be added soon.
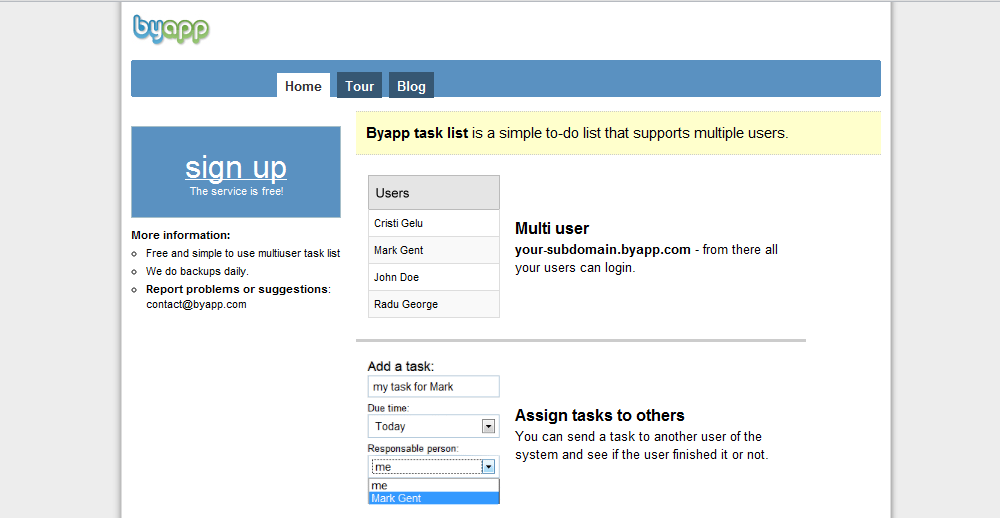
Byapp
A free service, which allows you to build your own to-do list and share it with others. You can assign tasks to yourself or your coworkers and employees, work with multiple users, create new projects, and follow up on the execution of the assigned tasks all from within your web browser.
There are many more collaboration tools out there but these are a few of our favorites. If you would like to share your preferred tool or comment on one of ours please leave a comment.
Ultimate iOS 5 and iCloud Feature List
 iOS, the operating system, which runs on iPhone, iPod, and iPod Touch was known as iPhone OS before June 2010 and at the time of this writing is the third most popular smartphone operating system, holding 16% of the global smartphone market. From the date of its original release, it has been updated every single year, with every update adding some exciting features and the next version, iOS 5, which is expected to be released in the fall, is no different. Apple promises more than 200 new features, among which iMessage, Notification Center, Newsstand, Reminders, new Camera and Twitter integration. In addition, iOS 5 comes with iCloud, the “storage in the clouds,” which allows users to share seamlessly and effortlessly all their apps, photos, music, and documents across multiple devices.
What is new in iOS 5 and which are some of its most exciting features:
Notification Center
Email messages, instant messages, text messages, and friend’s request, all of them will be aggregated by the Notification Center and accessed by swiping down the screen of and iPhone, iPod, or iPod Touch. Mini widgets will also be part of the Notification Center and will be able to display up-to-date information on stocks or weather.
Newsstand
 The feature which will help users keep their magazine and newspaper apps subscriptions in one place, it will also automatically update the periodicals with the latest edition, and allow the users to access App Store directly.
iMessage
Built into the Messages app, iMessage allows iPhone, iPod, and iPod Touch users to send unlimited text, pictures, videos, contacts, and locations via Wi-Fi or 3G. Additional features such as encrypted text messages, optional read and delivery notifications, group chat, and automatic push of the messages to all iOS 5 devices will allow iMessage users to stay in touch with all their friends and family at all times.
Reminders
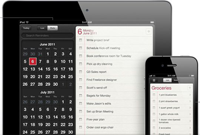 Much more than a simple to-do list app, the iOS 5 Reminders allows you to store date and time, as well as location, so you can get the alert as soon as you enter or leave the set location. Adding a reminder is done with a single tap on the + icon at the upper right or at the next available white space and some additional options such priority level and assigning the reminder to a list are available as well. Using iCloud, iCal, and Outlook, Reminders is synced automatically to all devices, making it easier for the users to remember birthdays, appointments, and meetings.
Twitter iOS 5 Integration
A marriage of the two systems, which will not only allow end users to tweet from their device, but also access the second most popular social network from within YouTube, Maps, Camera, Photos, and Safari. Moreover, developers would be able to connect to the Twitter’s API from their apps and make use of all the available features.
New Features for Safari in iOS 5
 For starters, it comes with tab browsing, which is a standard feature of all latest standard browsers and allows the user to load and check out more than one web page at a time. Integrated is a Safari Reader, which will present the web pages devote of ads and therefore display more content on the screen, while the integrated Reading List is, in essence, an offline browser that would let the users save web pages and articles on their devices. Conveniently enough, iCloud will synch the Reading List to all iOS5 devices that the user has, so he or she can start reading on one of them and continue reading on another.
The new Mail will change the way messages are sent and received and the users will have more options than ever before. Using Italic, Bold, or Underlined text, creating indents in the text, adding and deleting folders, and searching the message bodies are just a handful of the new features. Integrated in iCloud, the email accounts will be seamlessly updated on all devices as well.
Camera Button
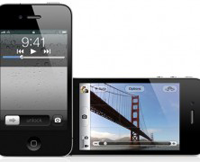 Available from the lockscreen lets the users capture photos instantly and adds pinch to zoom gestures, grid lines, single tap focus; the volume-up button doubles as a shutter button.
PC Free
All minor and major updates from now on will happen PC free, so setting up and activating the updates will be done wirelessly, without having to run cables between the device and a computer.
Game Center
The new and improved Game Center makes playing games even more exciting. Among the new features are achievement points, the ability to add photos to the user’s profiles, direct game downloads, turn-based games support, and game discovery option, which allows the user to play with friends and strangers.
iCloud
![]() iCloud comes with the new iOS 5, but it deserves a special mention as it is far more than (as Apple puts it) “a hard drive in the sky,” and is one of the most outstanding features that all users would definitely appreciate. It allows apps, calendars, photos, music, and other content to be shared wirelessly and effortlessly across all devices.
iCloud comes with the new iOS 5, but it deserves a special mention as it is far more than (as Apple puts it) “a hard drive in the sky,” and is one of the most outstanding features that all users would definitely appreciate. It allows apps, calendars, photos, music, and other content to be shared wirelessly and effortlessly across all devices.
- iCloud integrates with iTunes and allows the users to purchase music, which music will be stored in the “cloud” and then pushed wirelessly to all available devices. iCloud also stores the purchase history and is capable of downloading songs, purchased in the past, to all devices without the need to synch.
- Photo sharing with iCloud – if you take a photo with your phone or upload a picture from your camera to your PC, a copy of the photo will also be sent to your iPad, iPod Touch, Mac, and any other device that you own. iCloud stores up to 1000 photos and keeps the new ones for 30 days, which gives you adequate time to connect to a Wi-Fi or Ethernet network and send them to all your gadgets in a second.
- Documents and iCloud – once you create or edit a document, its updated version is saved in iCloud and it will magically appear on all your devices, making it possible to begin editing the document on your iPad and finishing the edit on your Mac.
- Mail, Calendar, and Contacts – when you sign up for iCloud, all your new email messages, calendar, and contacts’ updates will be pushed to multiple devices automatically, and in addition, you can share your Calendar with other iCloud users as well.
- Books – with the use of iCloud, you can download all your purchased books to any of your devices and choose all new purchases to be automatically downloaded to all devices as well. Reading is also synched automatically and once you are done reading for the day, all you have to do is create a bookmark or make a note, and you can continue the next day on any of your devices, exactly from where you left off.
- Automatic smart backup – iCloud automatically backs up your music, apps, books, photos, videos, messages, ringtones, device settings, and documents daily over Wi-Fi, but instead of creating the backup from scratch, it only saves information that you have added or files that have changed.
- Apps – just like books, the purchased apps are kept in the purchase history, allowing you to download them again on any device you wish at no cost. You can also set iCloud to push newly purchased apps to all devices automatically.
The exact date of the iOS 5 release is not know yet, but the operating system will be offered as a free update to all iPhone 3GS, iPhone 4, iPad, iPad 2, and iPod touch users. Coupled with the nine free cloud services and 5GB of free storage that iCloud offers and more than 200 new features, it is expected to be much more than a simple overhaul.


